
Chint circuit breaker NXB63-2P-C1A
Product description
 The Chint circuit breaker NXB63-2P-C1A has the following characteristics and parameters:
Model Explanation:
"NXB" is the model identifier for Chint's series of miniature circuit breakers.
"63" indicates the frame rated current is 63A, meaning the maximum current level the circuit breaker can withstand is 63A, though the actual rated current may not be 63A.
"2P" denotes a 2-pole configuration, which can control both the live wire and neutral wire simultaneously, providing protection for two-phase circuits.
"C" represents the trip characteristic of Type C, generally suitable for power distribution protection and lighting circuits. It is typically used to protect conventional loads and power cables, and can trip in response to overload and short-circuit currents. The tripping current of a Type C trip unit is generally 5-10 times the rated current.
"1A" indicates the rated current of this circuit breaker is 1A, i.e., the maximum current allowed during normal operation is 1A.
Main Functions:
When faults such as overload (current continuously exceeding the rated current of 1A) or short circuit occur in the circuit, it can automatically cut off the power supply to protect the safety of the circuit and connected devices, preventing dangerous situations such as electrical fires caused by faults.
Application Scenarios:
Due to its small rated current (1A), it is suitable for circuits with low current requirements, such as certain specific low-power control circuits, partial protection circuits in weak current systems, and protection for individual low-power appliances (e.g., very low-power indicator light circuits, certain special low-current sensor circuits, etc.). However, it is rarely used in conventional household lighting and socket circuits (common household rated currents are generally 10A, 16A, etc.).
Appearance and Other Features:
It usually has a visual window: red indicates the closed state, and green indicates the open state, making the status clear at a glance. It uses a flame-retardant housing, which can effectively prevent the spread of fire and reduce fire risks.
The installation and use of Chint circuit breakers (taking common miniature circuit breakers such as the NXB series as an example) must follow safety specifications. The detailed instructions are as follows:
Ⅰ. Pre-installation Preparation
Confirm Product-Circuit Matching
Check whether the circuit breaker's model parameters (such as pole count, rated current, trip characteristics, etc.) meet the circuit requirements. For example:
Pole Count (1P, 2P, etc.): 1P controls the live wire, while 2P controls both the live wire and neutral wire, needing to match the circuit voltage (single-phase/three-phase).
Rated Current: Must be greater than the normal operating current of the circuit (e.g., 16A for household lighting circuits, 20-25A for socket circuits).
Trip Characteristics (Type C/Type D): Type C is suitable for lighting/conventional loads, while Type D is suitable for impact loads such as motors.
Confirm the circuit voltage (e.g., select a single-phase circuit breaker for household 220V and a three-phase circuit breaker for industrial 380V).
Inspect the Installation Environment
Ensure the installation location is dry, ventilated, free of dust and corrosive gases, and away from heat sources.
Install it in a distribution box or switch box to avoid exposure.
Tool Preparation
Screwdrivers (usually Phillips or flathead), voltage testers, wire strippers, insulating tape, etc.
Wear insulating gloves to ensure operational safety.
Ⅱ. Installation Steps (Taking a 2P Circuit Breaker as an Example)
Power Disconnection Operation
Always disconnect the main power supply first, and use a voltage tester to confirm no voltage in the circuit to avoid electric shock risks.
Fix the Circuit Breaker
Insert the circuit breaker into the guide rail of the distribution box (standard 35mm guide rail) and press down until it clicks into place (some models may require screw fixation).
Wiring Operation
Line Inlet (L/N):
For a 2P circuit breaker: Connect the live wire (L) to the left and the neutral wire (N) to the right, usually marked with "L" and "N" (note: some brands may be reversed, so check the product label).
For a 1P circuit breaker: Only connect the live wire (L), and connect the neutral wire directly to the neutral busbar.
Line Outlet: Connect to the load circuit (e.g., lamps, sockets, etc.), ensuring the live wire and neutral wire are connected correspondingly.
Precautions:
Strip the wire to a moderate length (approximately 1cm) to avoid short circuits; insert the wire tightly into the terminal hole and tighten the screw with a screwdriver to ensure good contact.
Stranded flexible wires should be twisted into a single strand or equipped with terminal blocks to prevent loose contact.
Closing Test
After confirming correct wiring, close the main power supply, then push the circuit breaker handle to the "ON" position (upward for closing, downward for tripping).
Test with electrical appliances: Connect a load (e.g., a light bulb) and observe whether the circuit breaker supplies power normally without tripping.
Ⅲ. Usage Methods and Precautions
Normal Operation
Closing: Push the handle upward to the limit, and the indicator light (if available) shows green or the closed state.
Tripping: Pull the handle downward to the limit, and the circuit is powered off.
Operation After Tripping: If tripped due to overload/short circuit, first troubleshoot (e.g., check for circuit short circuits or excessive load), then reclose. If tripping occurs frequently, consult a professional for inspection.
Daily Maintenance
Regularly inspect the circuit breaker's appearance for signs of overheating, discoloration, or unusual odors, and check whether terminal screws are loose.
Clean surface dust with a dry soft cloth, avoiding water or wet cloth.
Do not disassemble the internal structure of the circuit breaker privately; professional electricians should handle repairs.
Safety Specifications
It is strictly forbidden to use exceeding the rated current (e.g., the load current of a C16 circuit breaker should not exceed 16A for a long time).
Install protective covers in areas accessible to children to avoid misoperation.
During thunderstorms or long-term absences, disconnect the circuit breaker (e.g., the main switch) to reduce the risk of lightning strikes or leakage.
Ⅳ. Common Issues and Solutions
| Issue | Possible Causes | Solutions |
| Immediate tripping after closing | Line short circuit, load grounding | Use a multimeter to check the line and eliminate short circuit points |
| Severe overheating of the circuit breaker | Loose wiring, overload | Tighten terminal screws, reduce load, or replace with a higher-current circuit breaker |
| Handle cannot be closed | Internal mechanism failure, incomplete tripping | Confirm the handle is fully tripped and contact after-sales service for replacement |
Ⅴ. Notes
Professional Operation: Circuit breaker installation involves high voltage; non-electricians should not operate it independently to avoid electric shock or fire accidents.
Product Certification: Ensure the purchase of genuine Chint products, check for the 3C certification mark, and avoid counterfeit or inferior products.
After-sales Support: In case of quality issues or installation questions, contact Chint's official customer service or distributors for technical support.
Through standardized installation and use, Chint circuit breakers can effectively ensure circuit safety and extend service life. For special scenarios (e.g., industrial circuits, three-phase power), it is recommended to refer to the product manual or consult a professional electrical engineer.
Previous:distribution boxes made with Chint circuit breakers
Next:power distribution boxes for construction sites exported to Saudi Arabia
More recommendations
-

Schneider LC1E400 Contactor
-

Chint JQX13F Electromagnetic Relay
-

Schneider C16F2TM160 Circuit Breaker
-
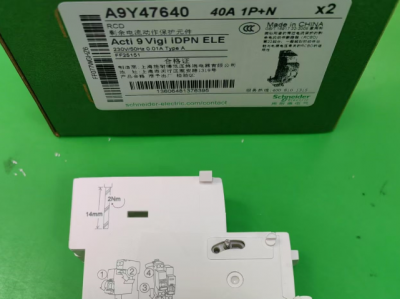
Schneider A9Y47640
-
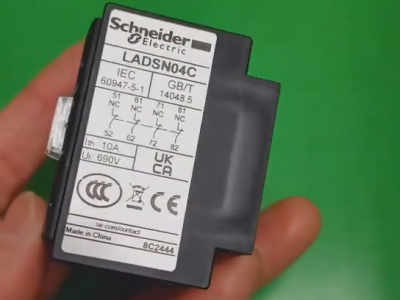
Schneider LADN04C
-
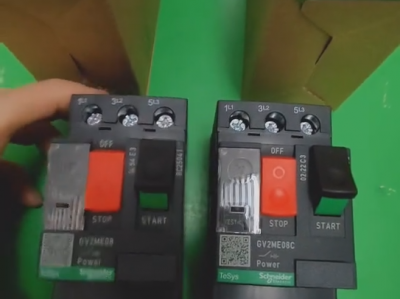
Schneider GV2ME08C motor circuit breaker
-
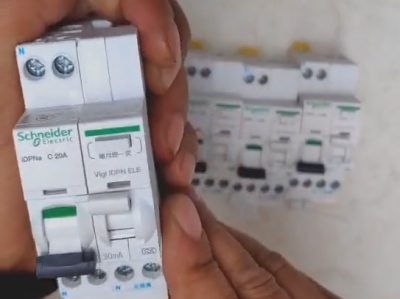
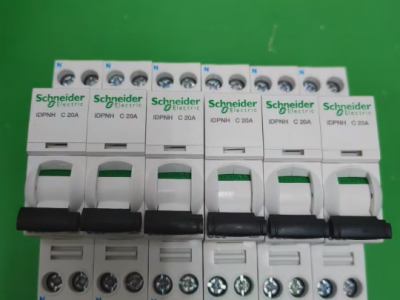
Schneider IDPNa C20A miniature circuit breaker (MCB)
-
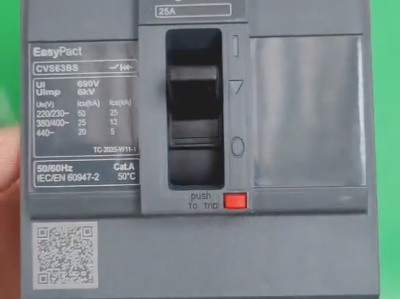
Schneider CVS63BS25A molded case circuit breaker (MCCB)
-
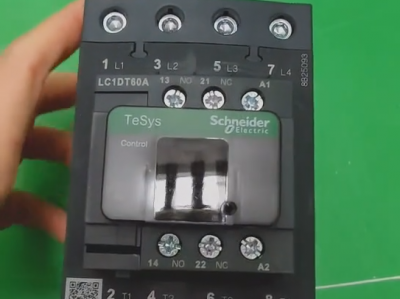
Schneider LC1DT80 4-pole contactors
-
Schneider Electric Circuit Breaker Model A9P28620

