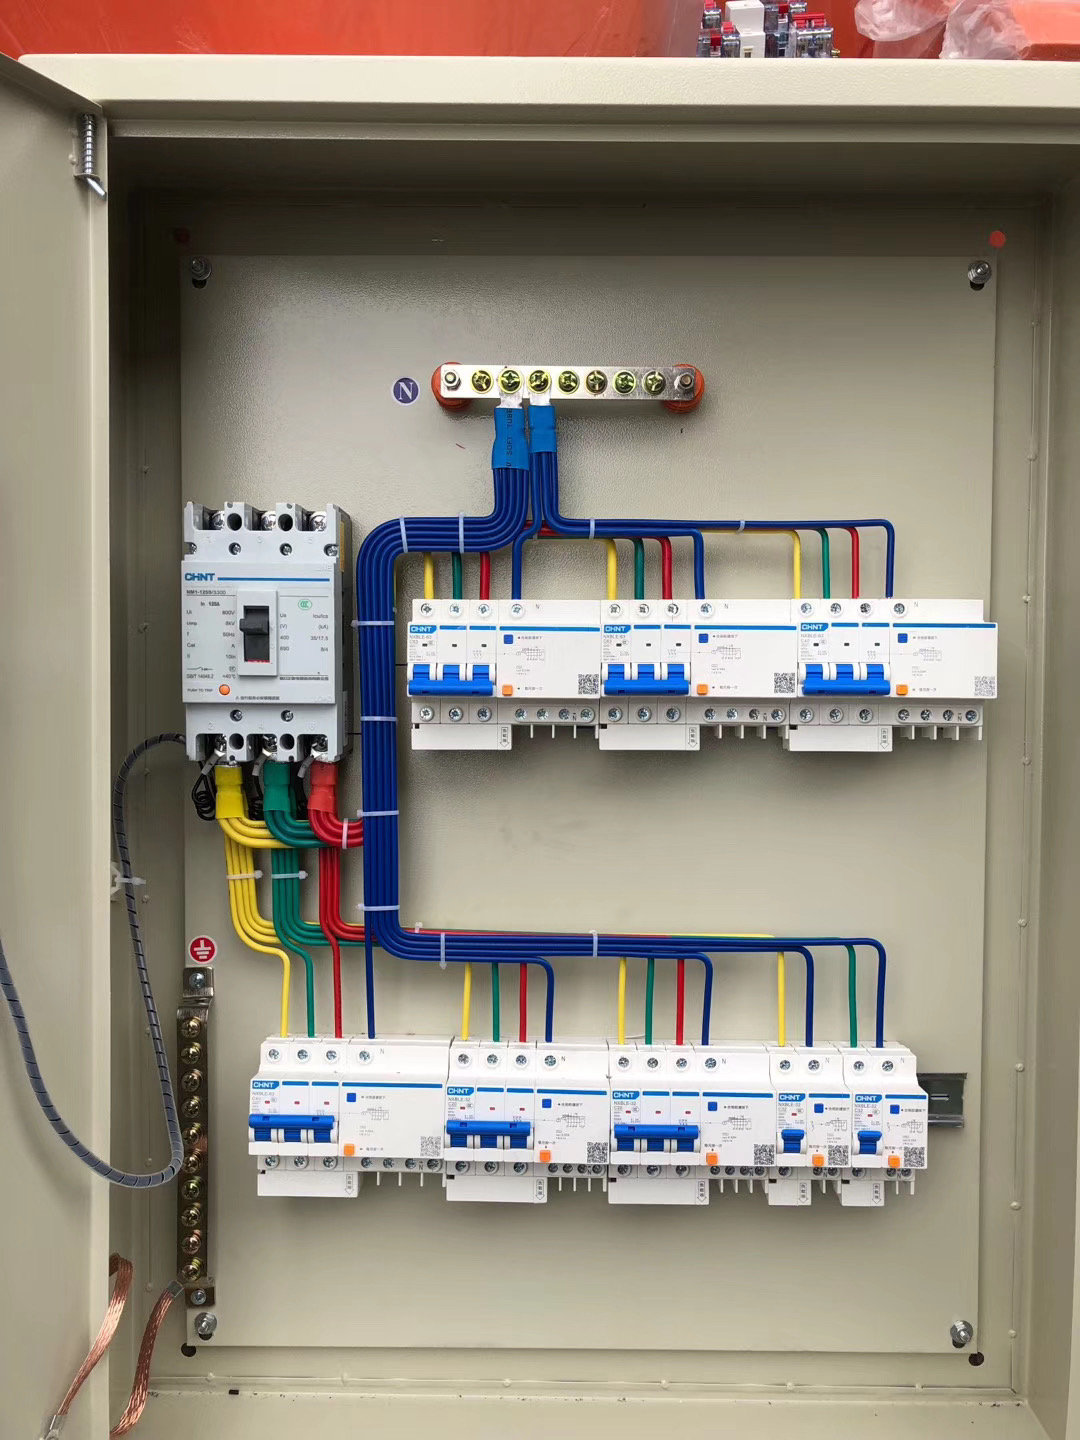
how to replace electrical switch box
 The following are the detailed steps and precautions for replacing an electrical switch box,
which are applicable to home DIY scenarios:
I. Preparation WorkTools and Materials
- **Tools**: Screwdriver (crosshead/slothead), voltage tester, electrician's pliers, wire stripper,
tape measure, marker pen, hammer, chisel (optional), spirit level.
- **Materials**: New switch box (matching the type of the original box, such as plastic/metal,
single-gang/multi-gang), wire connectors (wire nuts), insulating tape, expansion screws
(optional), gypsum patching compound (if needed to repair the wall).
II. Key Steps
1. Cut off the Power Supply
- **Turn off the power**: Locate the distribution box and disconnect the circuit breaker
of the corresponding switch (it is recommended to mark the circuit).
- **Test for electricity**: Use a voltage tester to check whether the wires are live (make
sure that both the neutral wire and the live wire have no electricity).
2. Remove the Old Switch Box
- **Remove the panel**: Unscrew the screws of the switch panel and remove the panel
and the switch/socket.
- **Separate the wires**:
- Mark the purpose of the wires: Use a marker pen to mark the live wire (black/red),
the neutral wire (white), and the ground wire (green/yellow-green).
- Unscrew the screws of the wire terminals and remove the wires.
- **Remove the old box**:
- **Recessed box**: If the box is fixed in the wall with screws, unscrew the screws; if the box is bonded to the gypsum board, carefully chisel
away the surrounding gypsum.
- **Surface-mounted box**: Just unscrew the fixing screws directly.
3. Install the New Switch Box
- **Select an appropriate location**:
- If the new box has the same size as the old box, you can directly use the original hole positions; if the sizes are different, you need
to expand
the wall hole (using a chisel or a special hole opener).
- **Fix the new box**:
- **Recessed box**: Push the box into the wall hole and fix it to the wall stud or a special bracket with screws, ensuring that the surface
of the box is flush with the wall (calibrate with a spirit level).
- **Surface-mounted box**: Fix the box to the wall with expansion screws, leaving an outlet for the wires.
4. Connect the Wires
- **Strip the wires**: Use electrician's pliers to strip about 1.5 cm of the insulating layer at the end of the wires.
- **Wiring rules**:
| Wire Color | Connection Position | Precautions |
| Live wire (black/red) | "LINE" terminal of the switch/socket | Ensure it is tightened without looseness |
| Neutral wire (white) | "NEUTRAL" terminal of the switch/socket | If it is a single-control switch, the neutral wire is directly connected to the load |
| Ground wire (green/yellow-green) | Ground wire screw of the box or the ground wire terminal of the switch | Must be connected to ensure grounding safety |
- **Wire connectors**:
- If the wire length is insufficient, use **wire connectors** (such as Wago terminals) to extend it and wrap it with insulating tape.
- When connecting multiple wires, ensure they are tightly wound to avoid short circuits.
5. Fix the Switch/Socket and Test
- **Install the switch/socket**: Align the wire terminals with the screw holes of the switch, tighten them to fix it, and ensure that
the switch panel fits closely to the wall.
- **Restore the power supply**: After closing the switch, use a voltage tester to check the function of the switch (turn the light
on/off, check if the socket is powered).
- **Repair the wall**: If there are gaps in the wall hole, fill it with gypsum patching compound, and paint it after it dries.
III. Common Problems and Solutions
| Problem Phenomenon | Possible Cause | Solution |
| The switch box cannot be fixed | There is no support point in the wall | Install a metal bracket or use expansion screws |
| The wire length is insufficient | The old wire is too short | Extend it with wiring terminals or replace it with a new wire |
| The switch trips after closing | Short circuit between the live wire and the neutral wire | Recheck the wiring to ensure good insulation |
| The box protrudes from the wall | It is not fixed in place | Adjust the screws and calibrate with a spirit level |
IV. Safety Precautions
1. **Be sure to cut off the power**: Confirm that the circuit is disconnected before operation to avoid electric shock.
2. **Match the voltage**: The American standard is 120V/240V. Ensure that the rated voltage of the new box is in line with it.
3. **Ground the metal box**: If a metal switch box is used, the ground wire must be connected.
4. **Comply with the specifications**:
- Capacity of a single-gang box: ≤180VA (15A×12V).
- Wire filling rate: The total cross-sectional area of the wires in the box ≤ 40% of the box volume (refer to the NEC standard).
V. When to Call a Professional Electrician?
- Not familiar with the circuit wiring or the color identification of the wires.
- Involving the modification of the distribution box or three-phase electricity.
- The wall is a load-bearing wall or requires large-scale demolition and modification.
**Example**:
When replacing a single-gang switch box, if the original box is a recessed plastic box, the new box can be a plastic box of the
same size. Wire it according to the principle of "the live wire enters the switch, and the neutral wire is directly connected",
and ensure that the ground wire is firmly connected.


